
I’m about to do a knock off. I don’t really want to kill anybody…exactly. Though sometimes I feel like I could hit a few people. Better to knock off a pattern. Fewer bad consequences.
Here’s the thing. I go through t-shirts pretty quickly. They wear out, they stretch out, they shrink, they get splattered with chocolate syrup. And I get tired of clothes shopping. This is the whole reason I started sewing again: I want to make clothes that I can wear.
Easier said than done, apparently.
I have yet to make a manufacturer’s pattern that fit me. Even after I learned to fit the pattern, measure the pattern, and fit it again, they just don’t fit. Every time, there is too much fabric under my arms and the sleeve starts way too far from my body. wth? So, I am learning to tailor clothes out of necessity. And I’m struggling to just make a simple t-shirt. How hard could it be?
I want a pattern that I love and can use again and again. I am determined to make this happen.
And so, here is another chapter in the t-shirt saga. I took an online class on how to create patterns from clothes in your closet. Maybe I didn’t need that class. I already did it once and it turned out…okay. But it was my first time and I’d only just started sewing again. Still, I thought I could learn a few things. And the instructor said I should make the pattern differently than I had the first one.
The first one I made, I just laid the shirt out flat and stuck pins in it. But the instructor folded the shirt along the center front, and did the back the same way. So that’s what I did. It didn’t work. I’d like to blame the technique, and I do think there were flaws there. But it was also due to some finagling on my part. I thought the neckline couldn’t possibly be right, and changed it–making it very wrong. And the sleeves were way too gathered.
So, my solution was to try another manufacturer’s pattern. And, naturally, despite fitting it the way they said to (I even pinned the pattern together and put it on!) it still gaped under the arms. I fought and fought with that shirt until I was sick of it. (And I burned it with the iron. What I need is a class on proper use of an iron.)
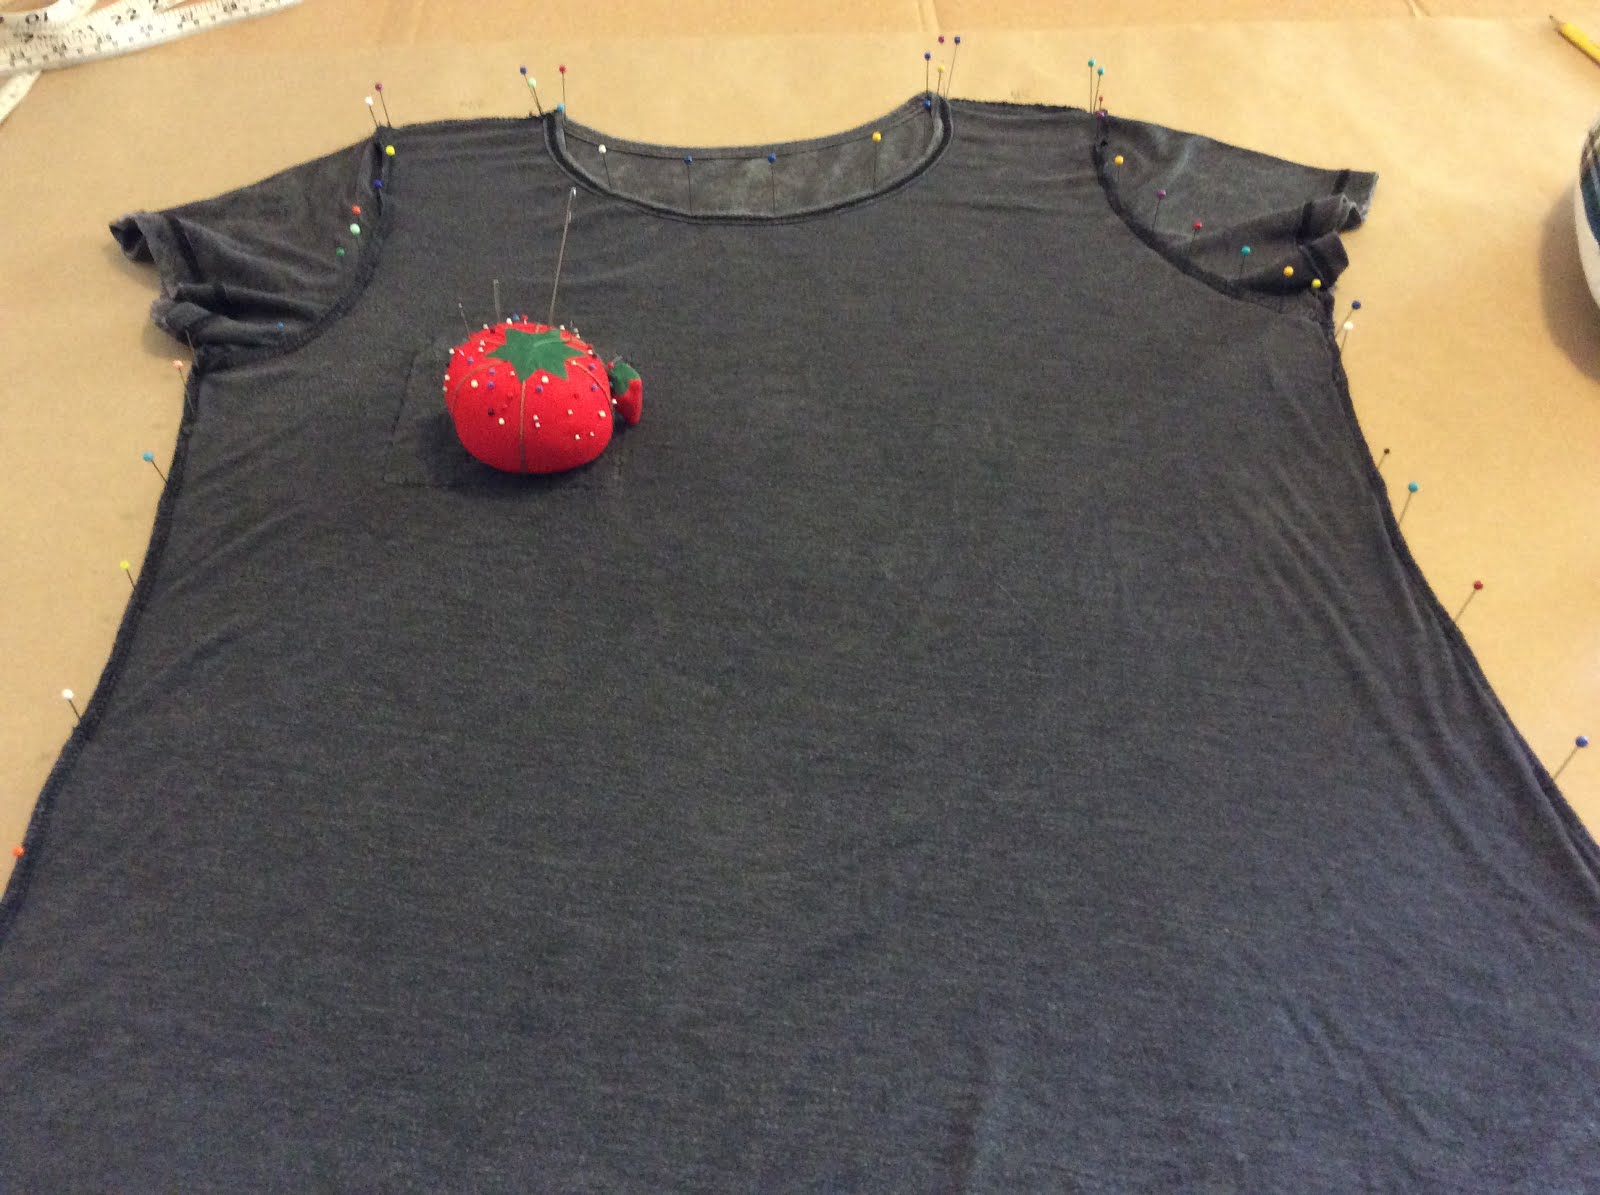
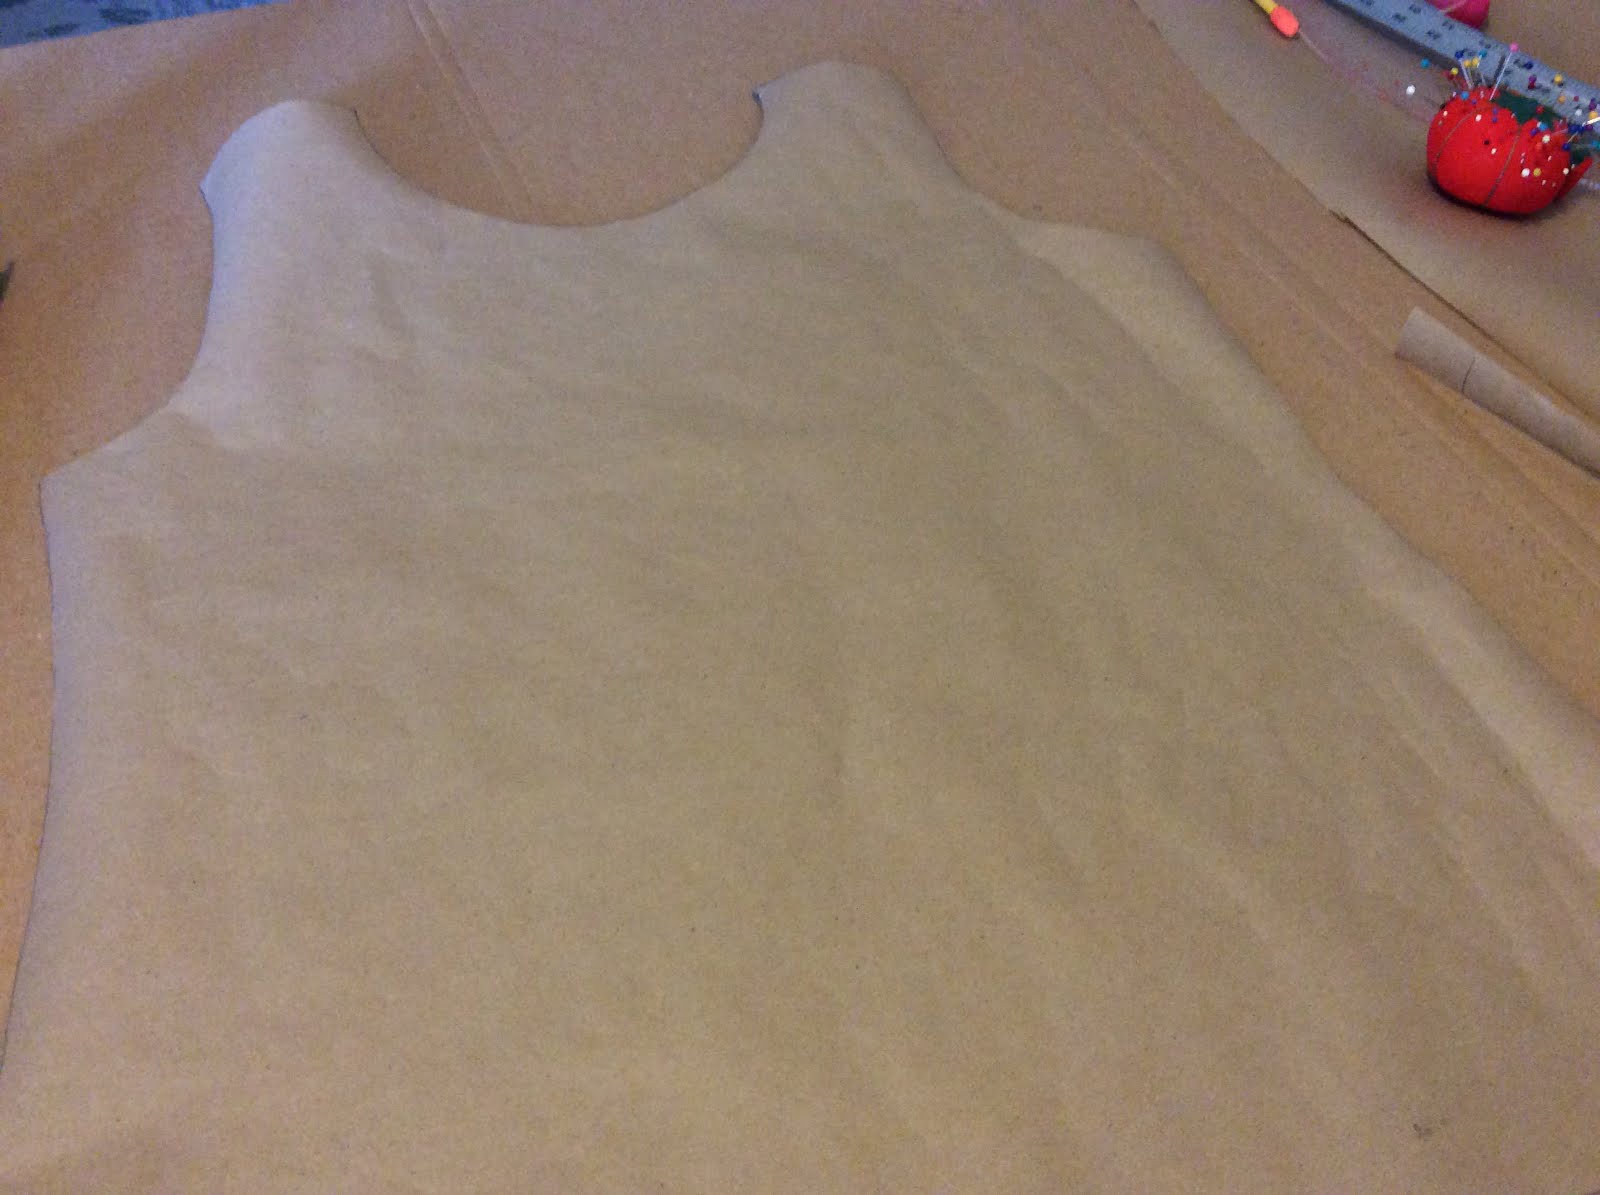
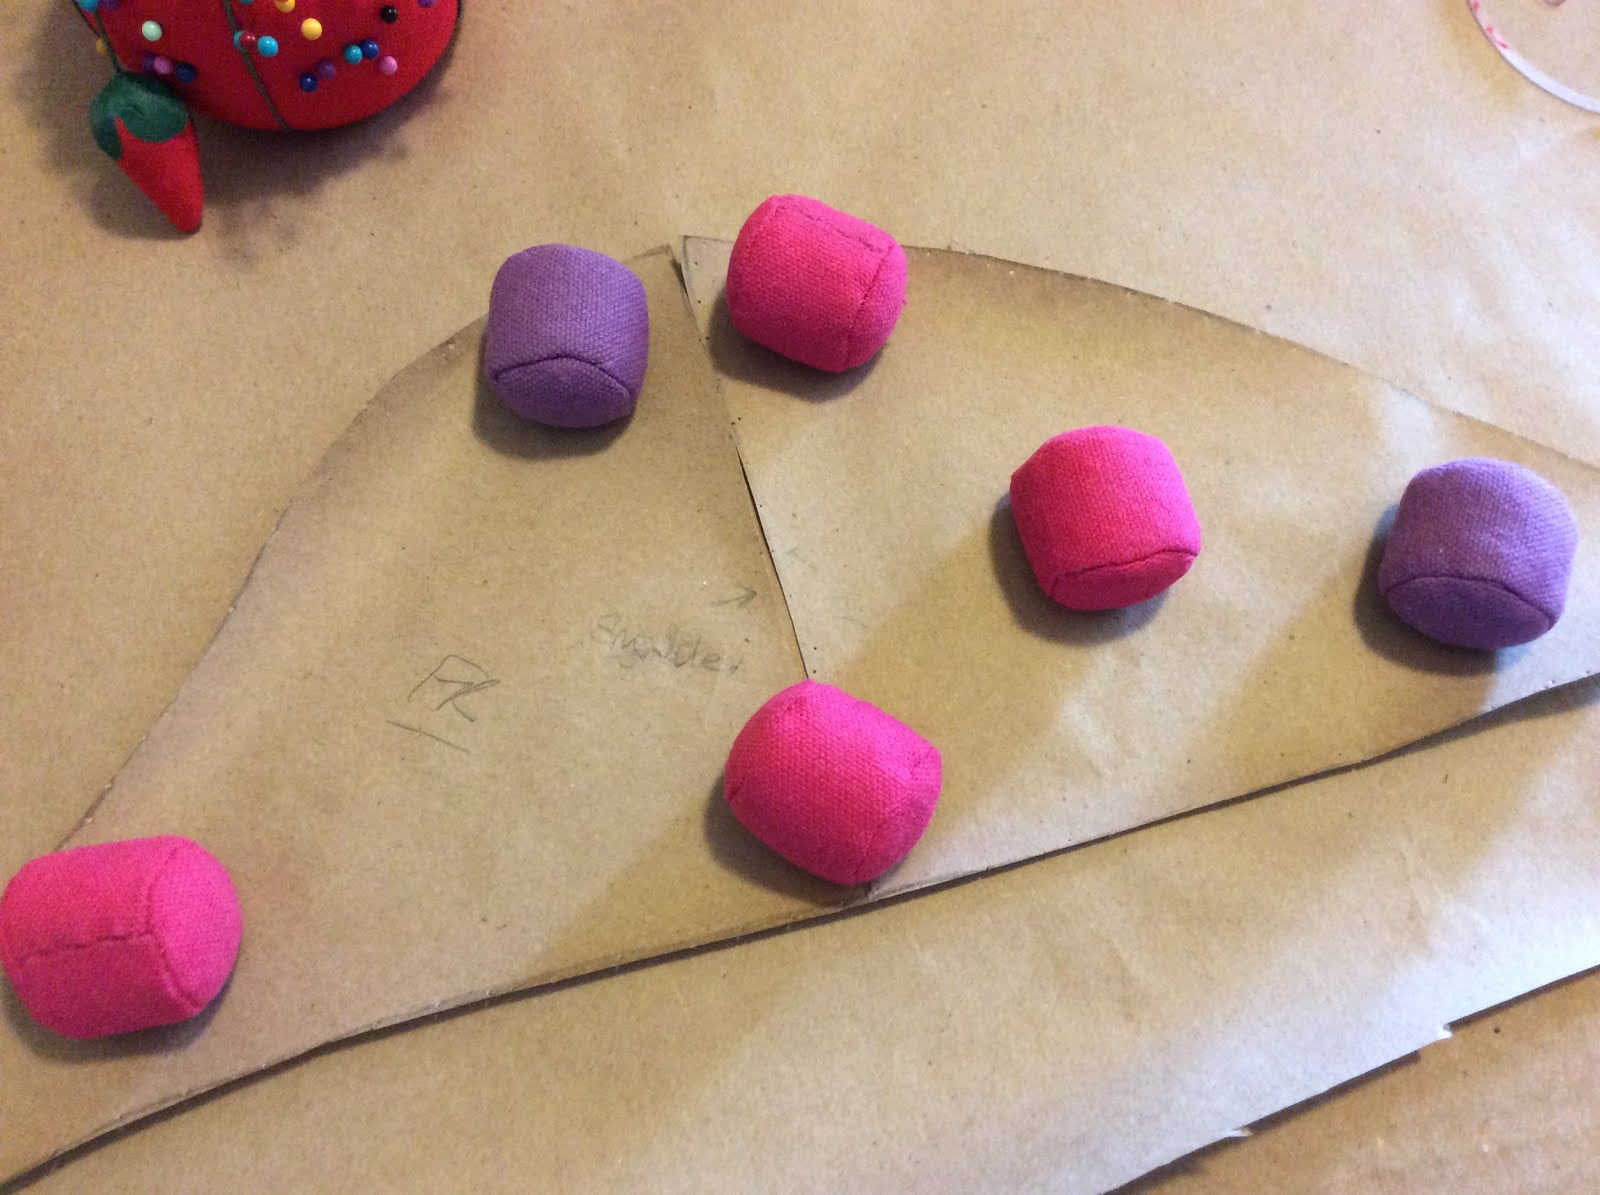
So, I went back to the pinning board and tried again–my way. Here I am, pinning up my favorite tee.
When it’s laid out there like that it looks ginormous, doesn’t it? And shaped funny. Looks like a shirt for a Weeble.
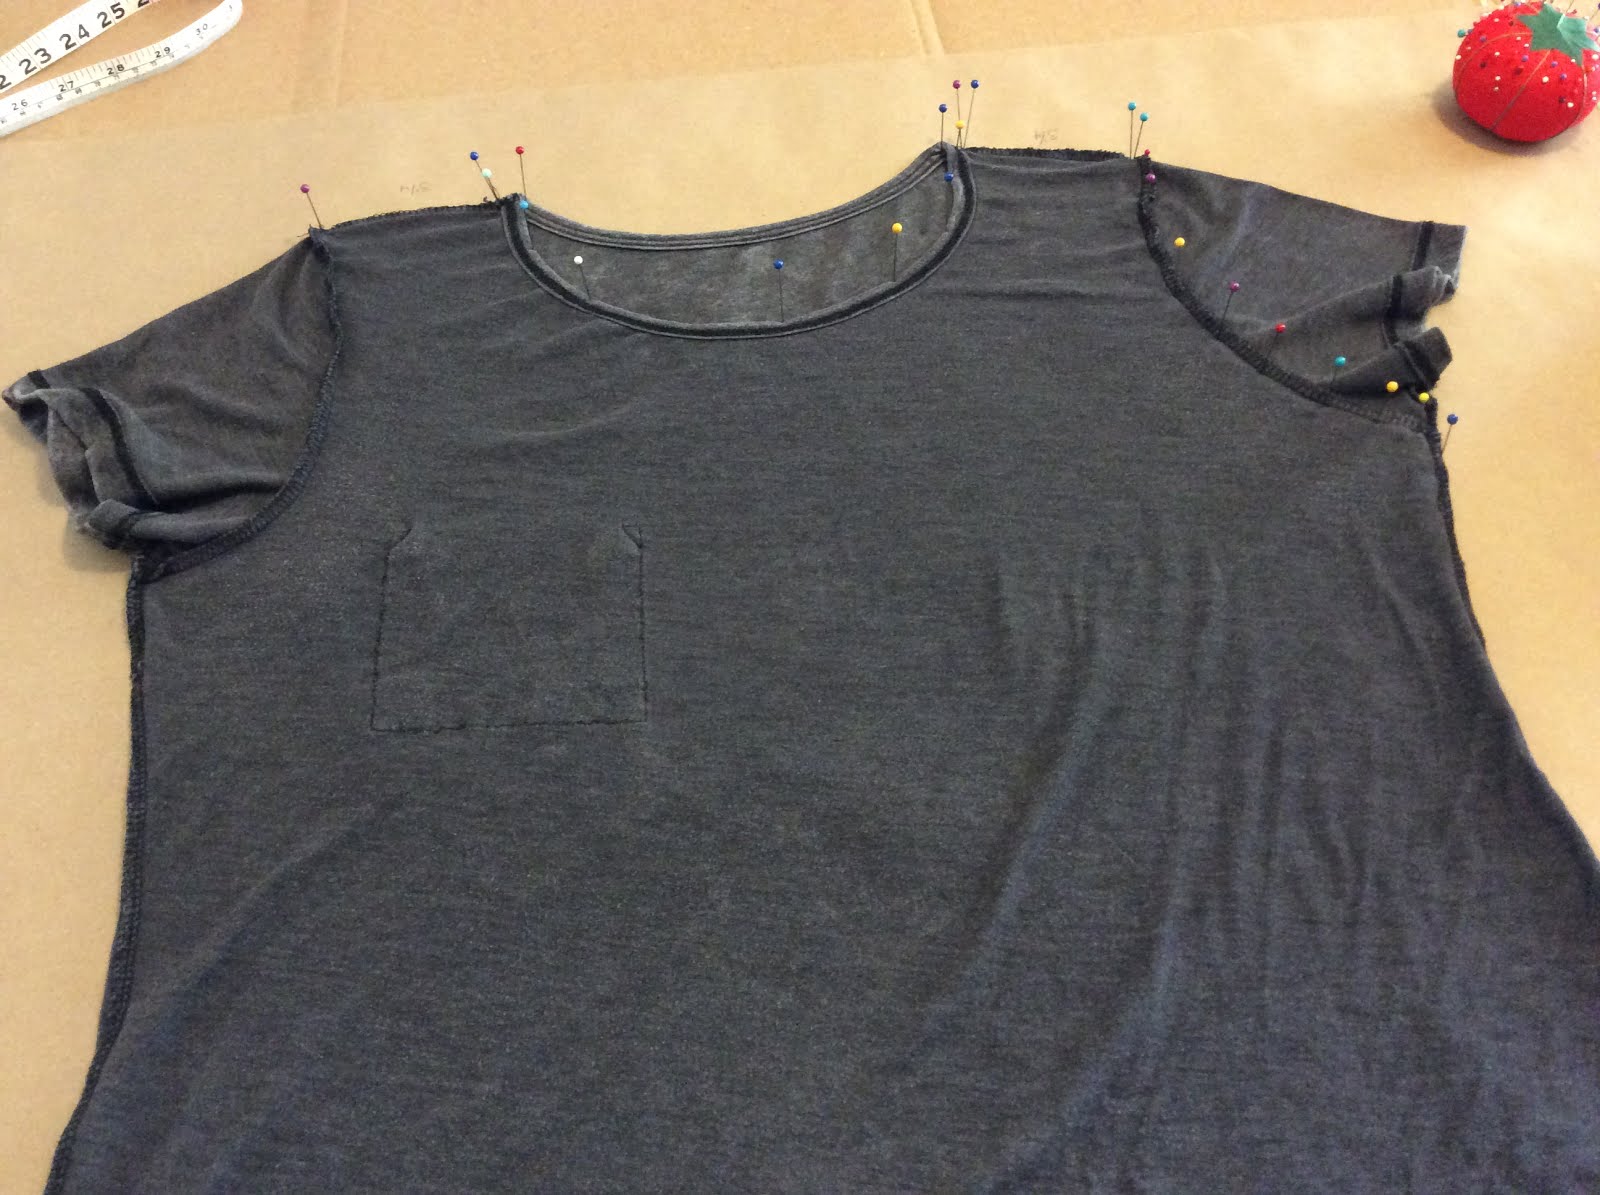
Anyway, you want to put the shirt on cardboard. I use the back side of my big fold up cutting board. And put a piece of paper behind it. Then you spread it out as smoothly as possible, and stick pins all along the seam lines. Front. Then the back on its own piece of paper. This puts holes in the paper underneath it. I actually took a darning needle and poked the holes to make them bigger.
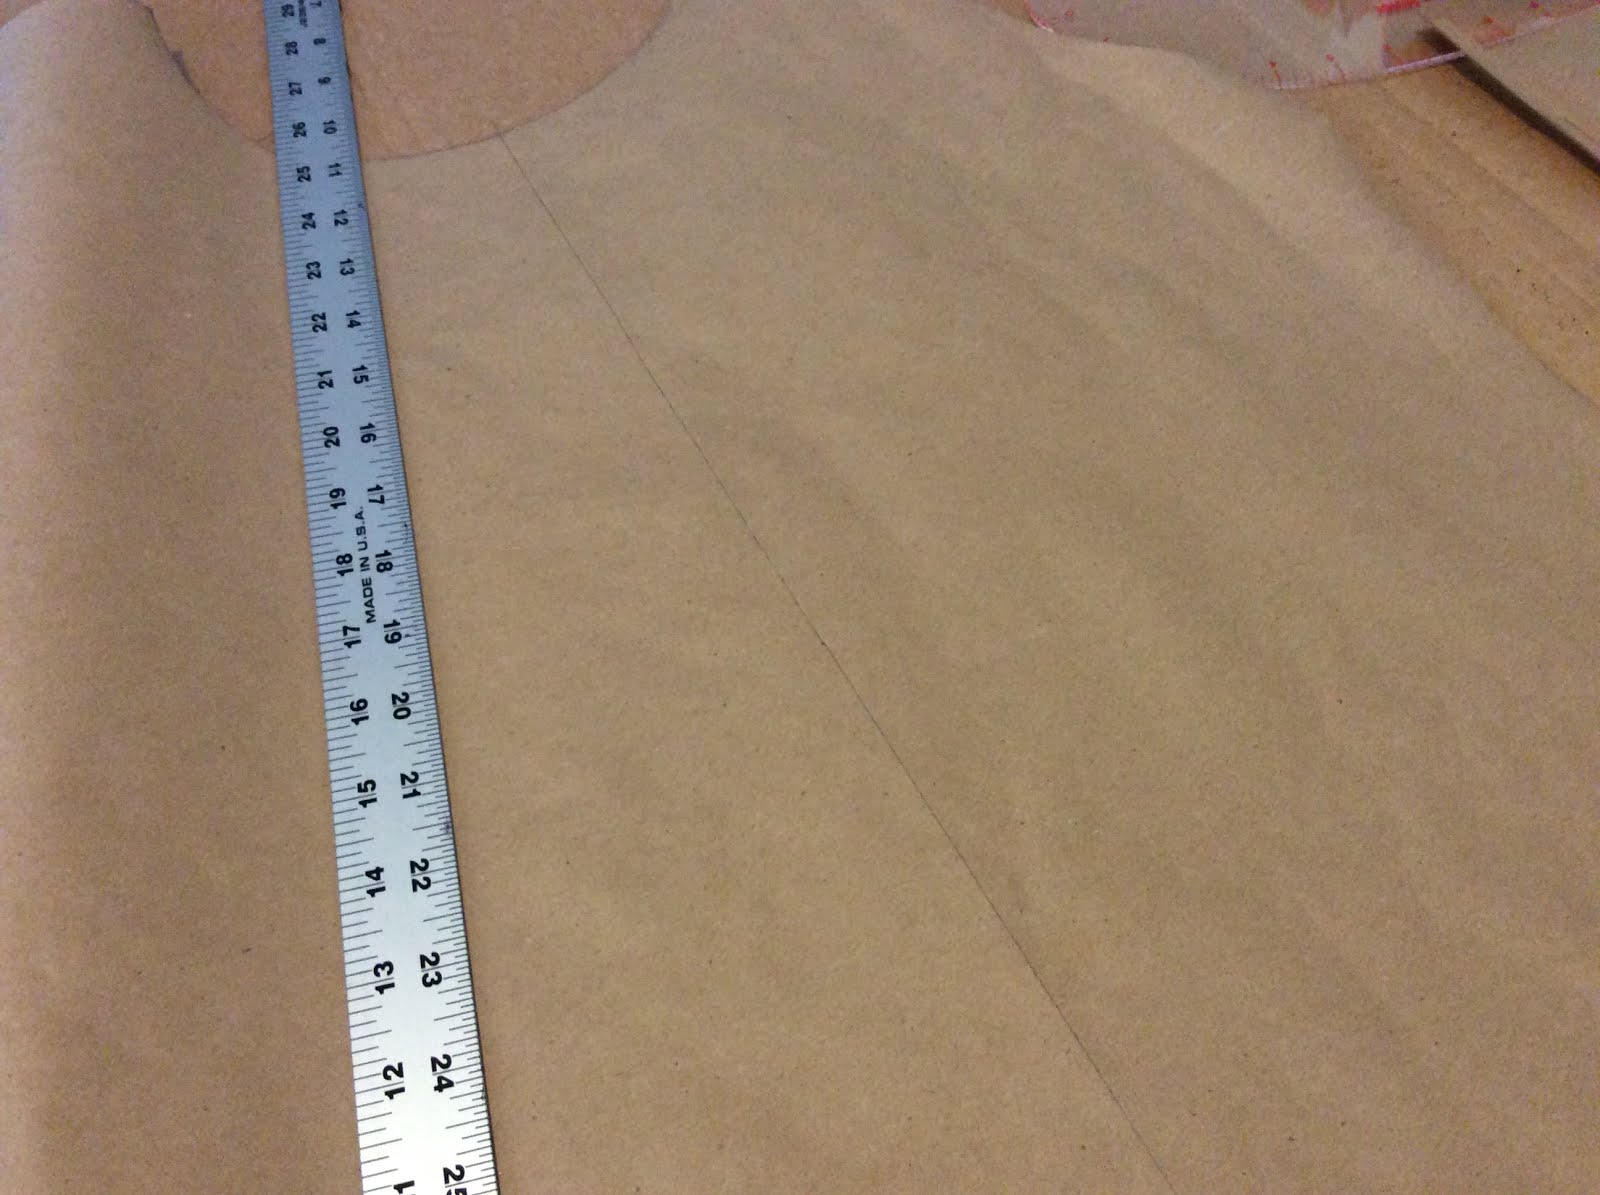
Then, connect the dots and cut it out.
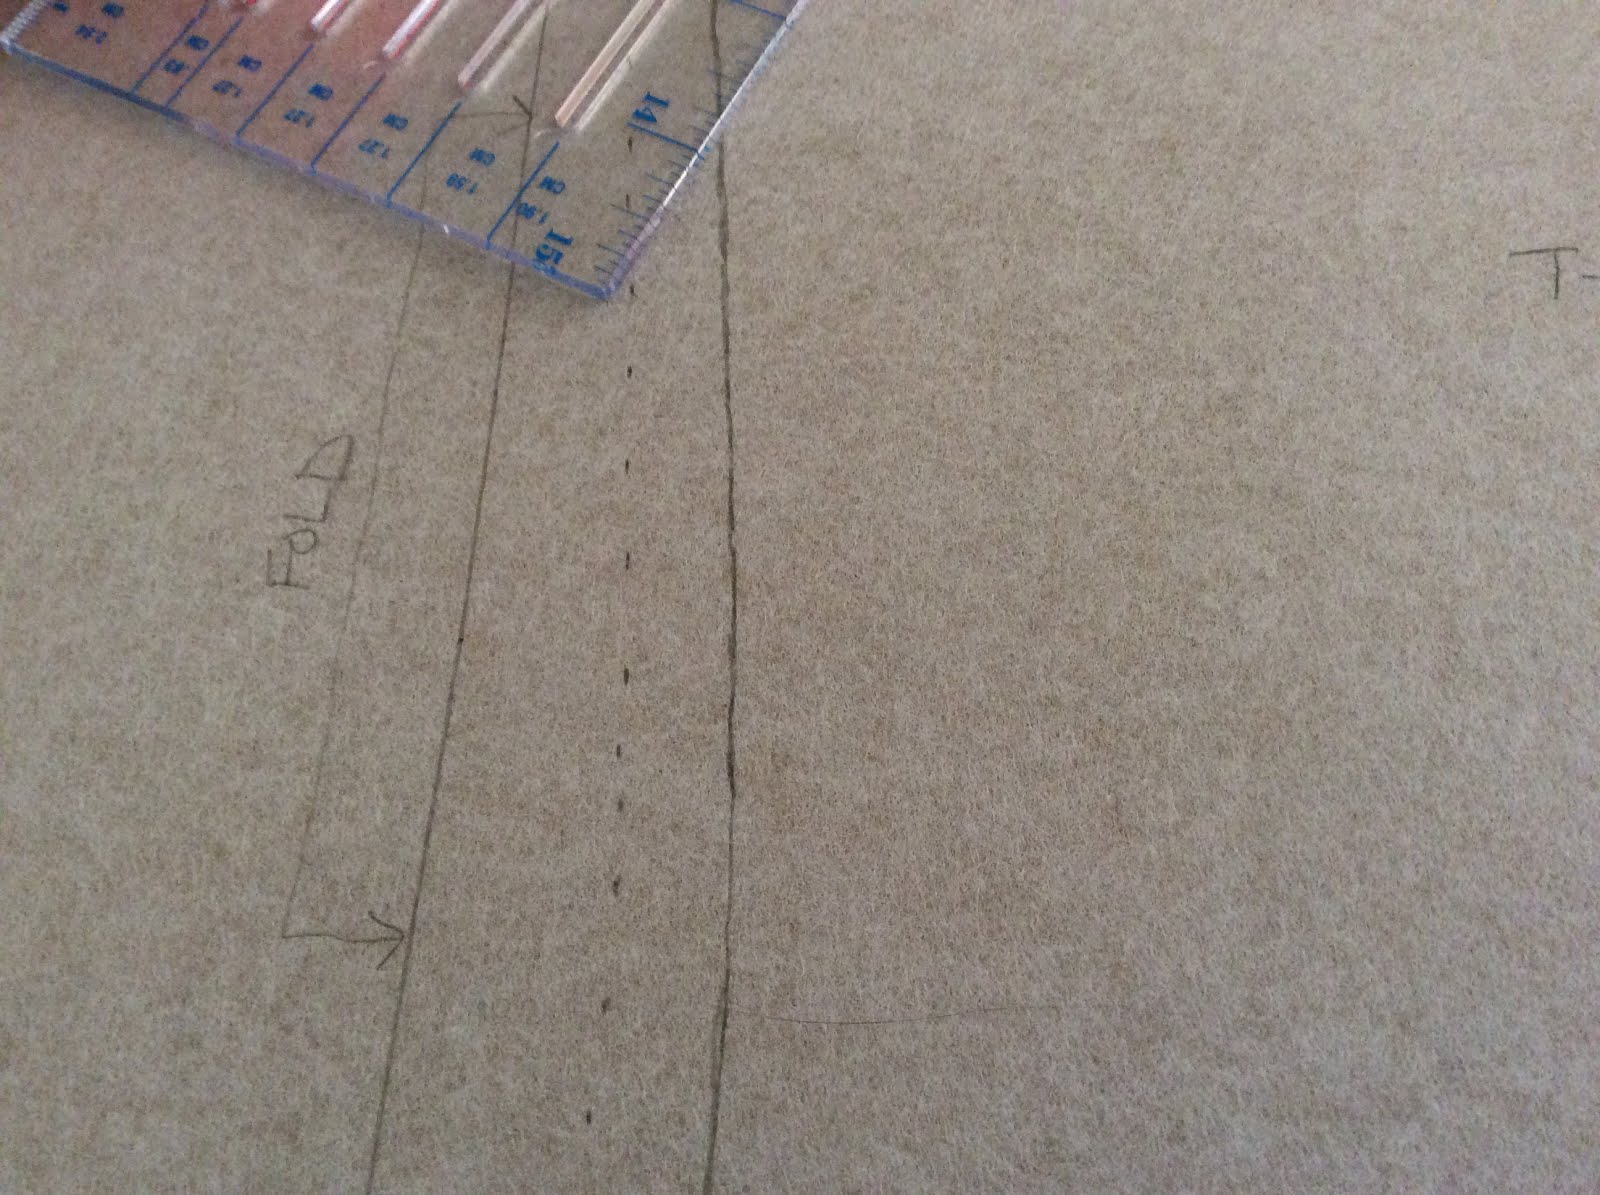
What I do then is pick a side, left or right. Whichever side looks nicest. Because inevitably they won’t be the same. I blame this on the original shirt being all stretched out and not on my pinning capabilities. Then I fold it down the middle, trying to cut the neckline right down the middle and still get the side seams to meet up. It never works out very well. I press the middle fold and then lay it flat again and, using a ruler, trace down the center line. Then I cut it, very carefully. I do all of that for the back as well.
At this point, I throw away the half that I didn’t like, thus burning any bridges that might help me out of a mess later. But…it’s my way.
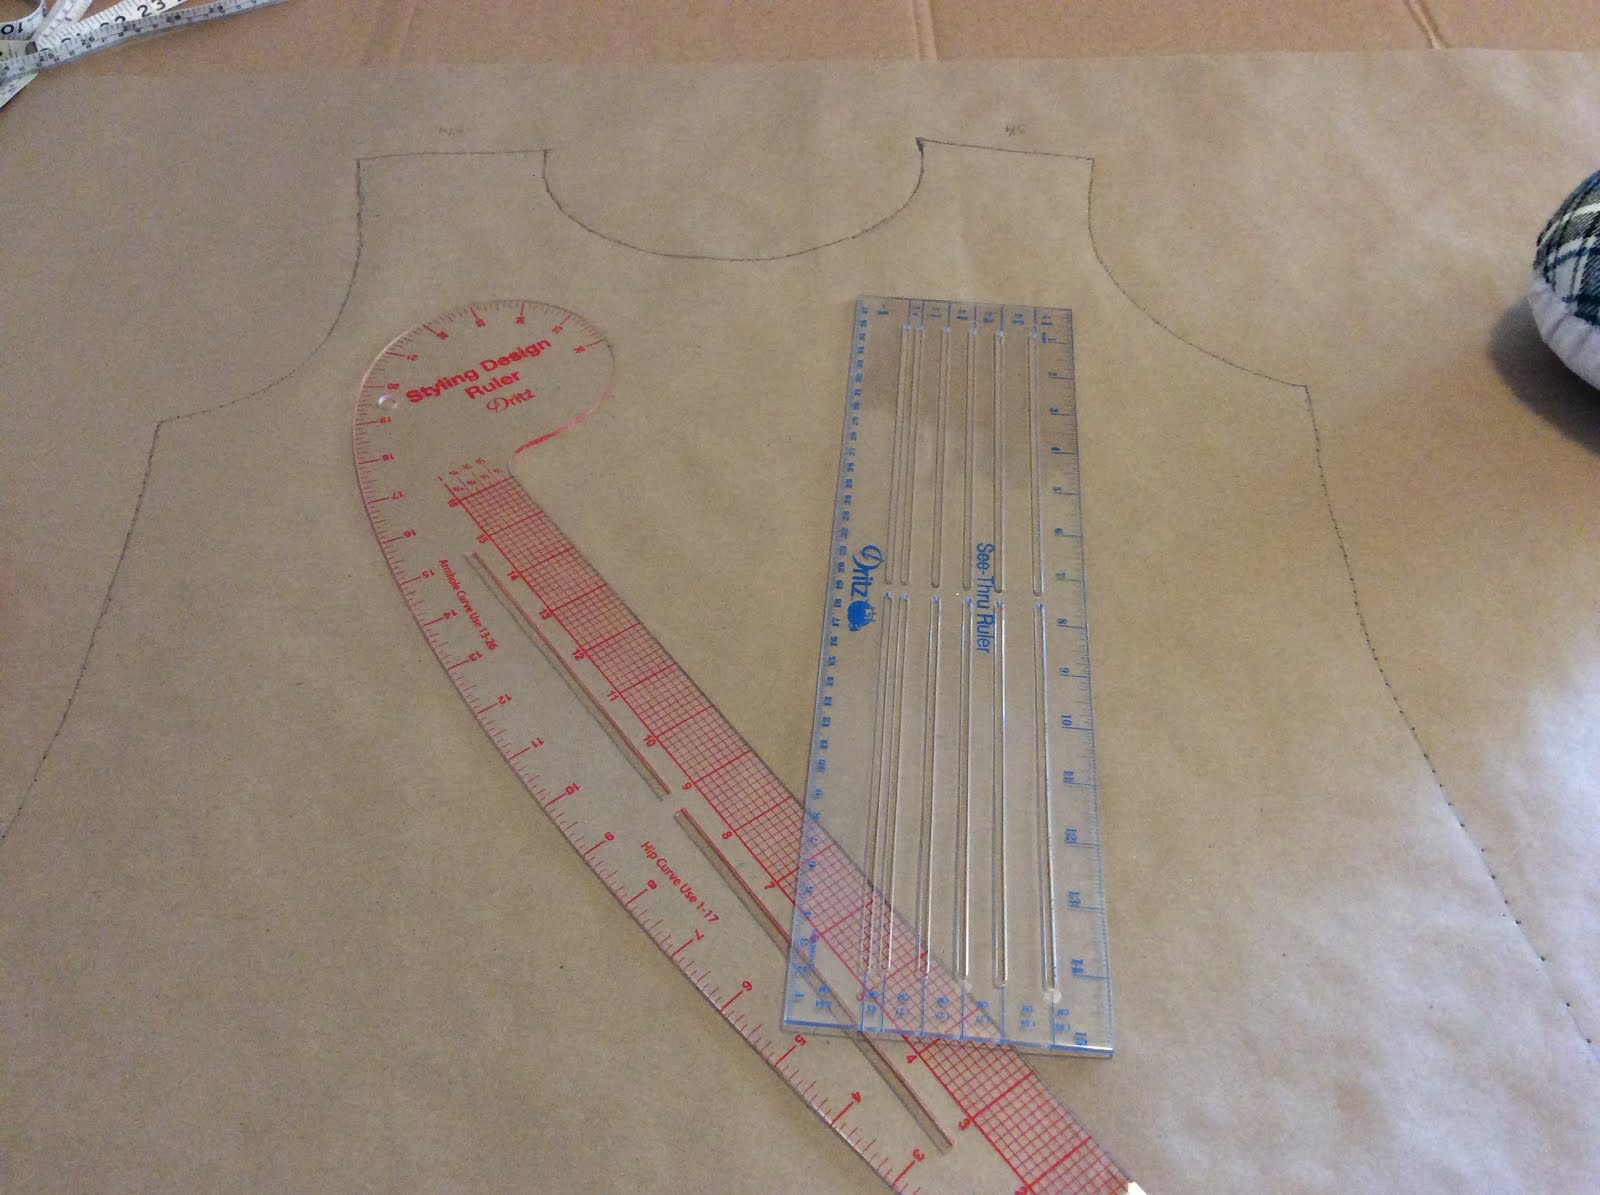
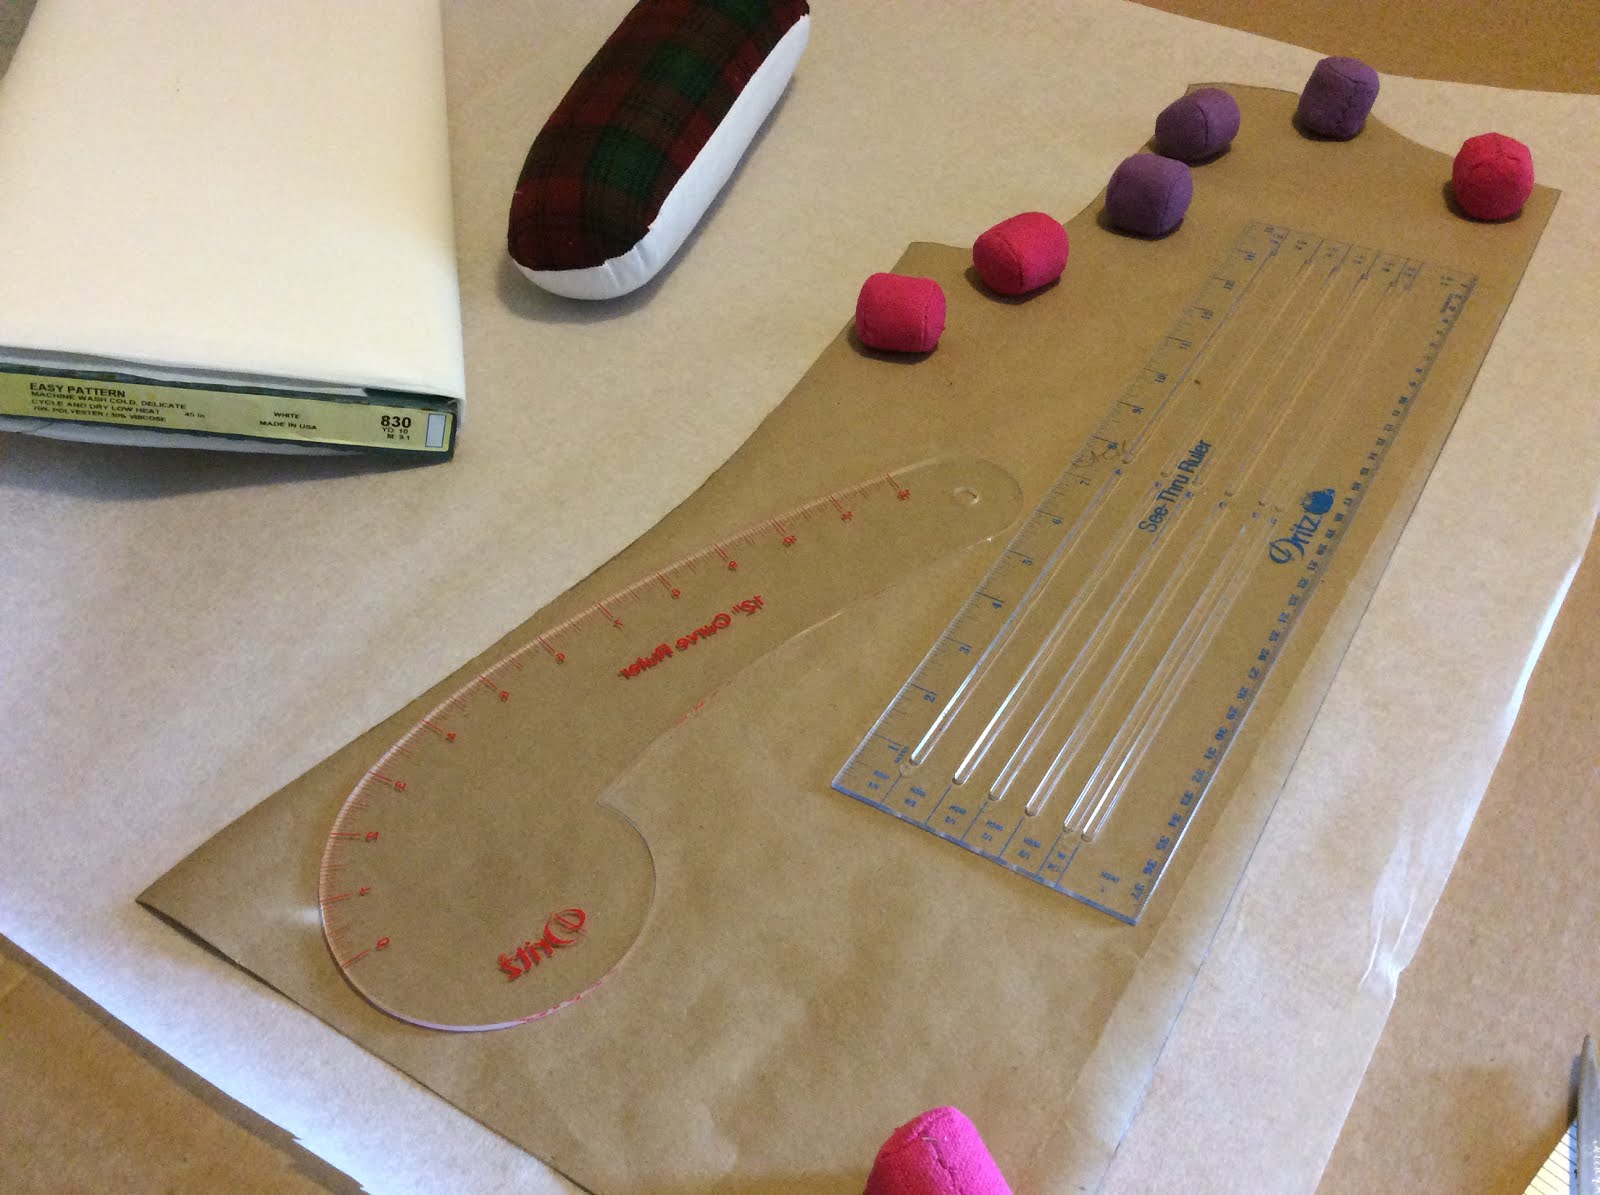
If I need to, I use my French curve and hip curve to smooth out the curves and lines. I also do my best to get end points (where two lines meet) at 45 degree angles–like at the underarm and at the shoulder. I do that because I’m pretty sure an instructor in a class said to do that. But who knows?
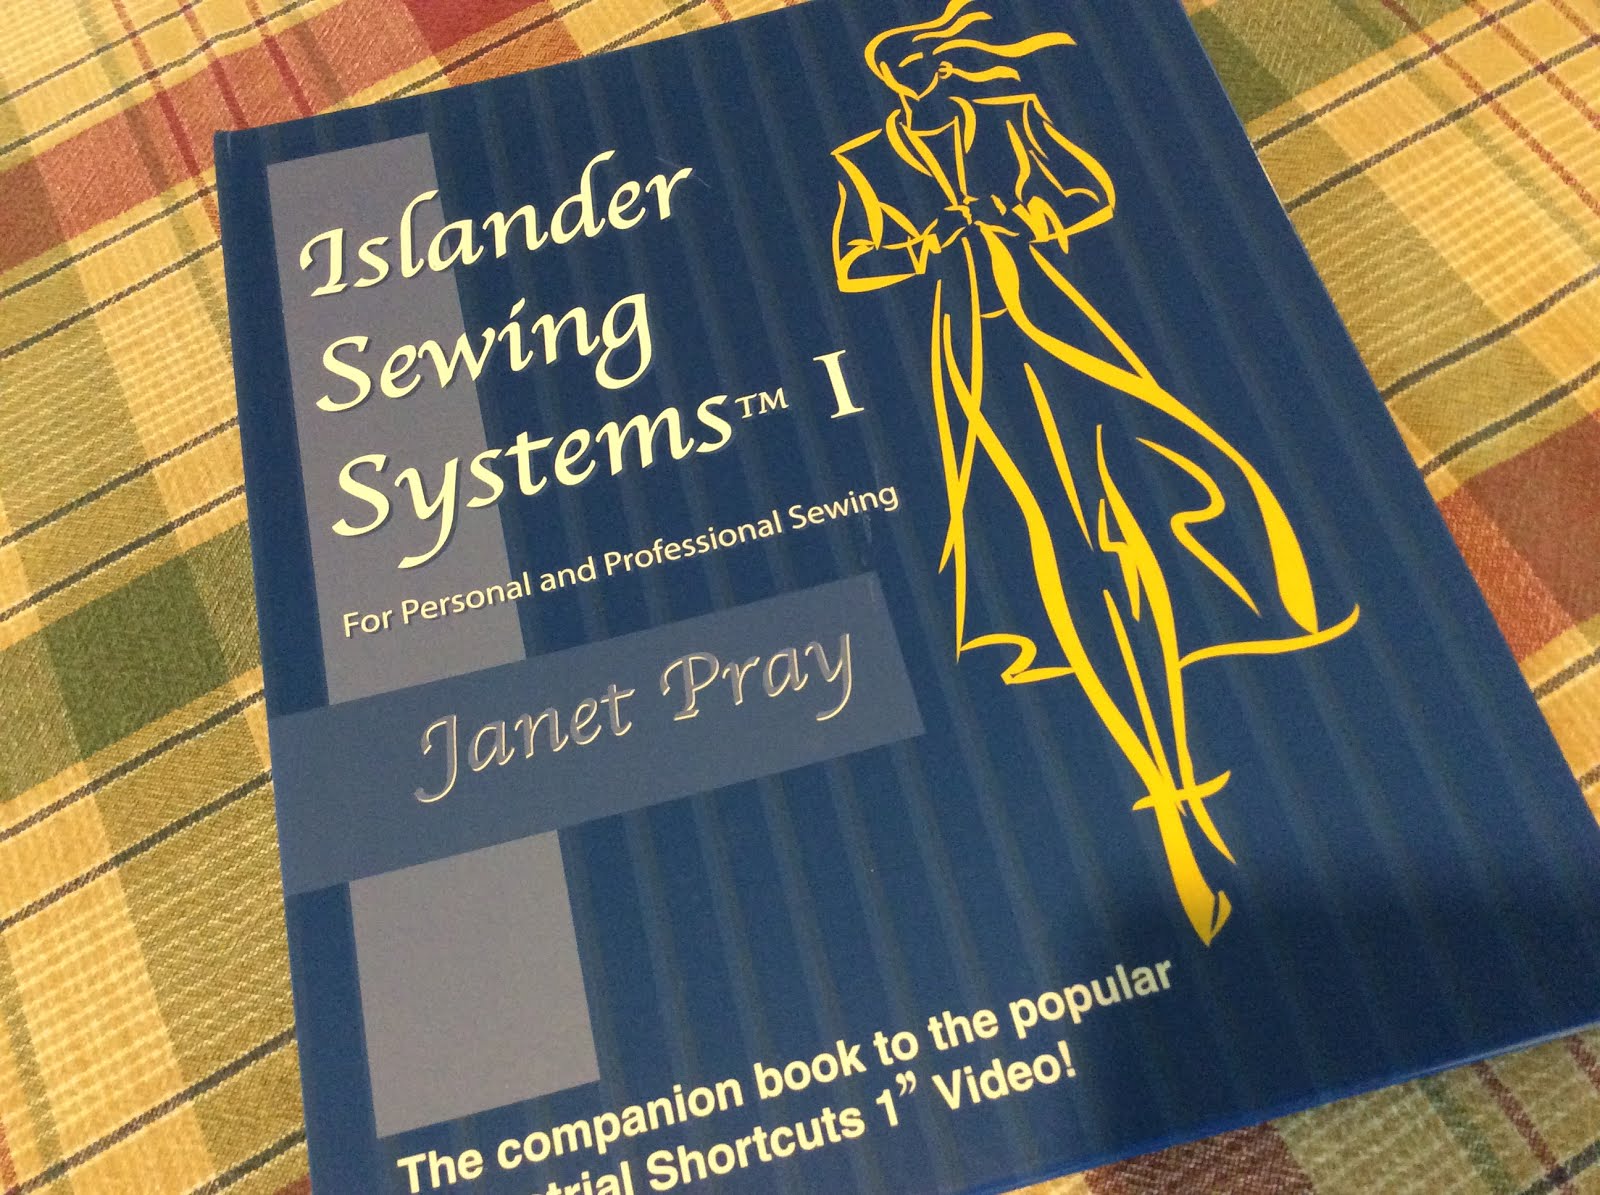
Now, a word about evening up these lines. I put the front and back shoulder seams together and made sure they were the same length. I’m always finding that one is longer than the other and I thought it was my bad. But last night, I was reading a new book on sewing that I got at Amazon. Janet Pray, an excellent online instructor at Craftsy, says that you are supposed to ease the back to the front at the shoulder seams! Lightening struck my brain! All this time, I was supposed to be easing the back to the front. wth?
Why? Why is the back shoulder seam longer? So, I did some research and…nothing. I can’t find out anything about this issue. So for now, I’m going to go ahead with my pattern as I’ve made it–with the shoulder seams the same length. But I’m going to contact Janet Pray and ask her about it.
Anyway…
Next, the sleeve. Again, in the class I took the instructor had this weird way of doing the sleeve. You draw two lines, one horizontal and one vertical, intersecting it, then line up the folded sleeve along the vertical, pin that side, then flip it…whatever. I ended up with the weirdest, funkiest shaped sleeve ever. And in the end, it had way too much ease in it, giving me a puff sleeve basically. Something that I could have easily fixed, but for some reason, forgot all my lessons on checking the ease of a sleeve. (How long do I have to sew to start remembering these things?)
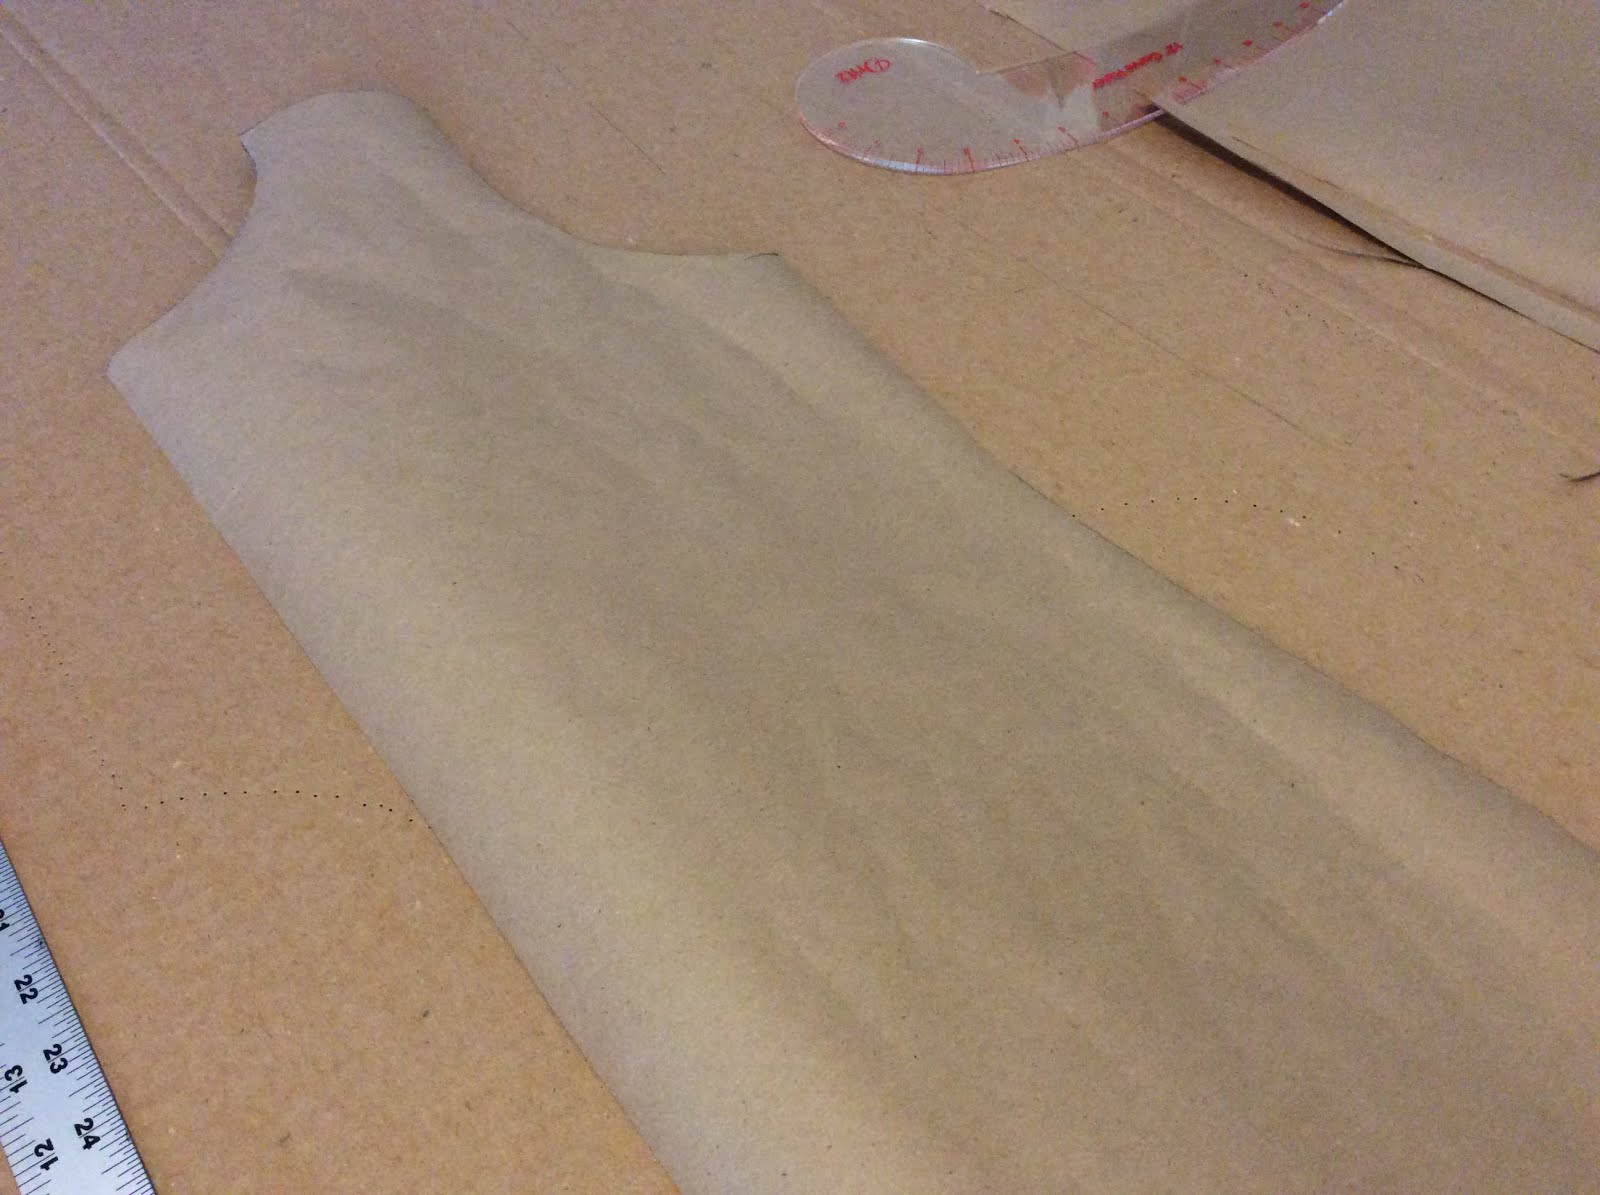
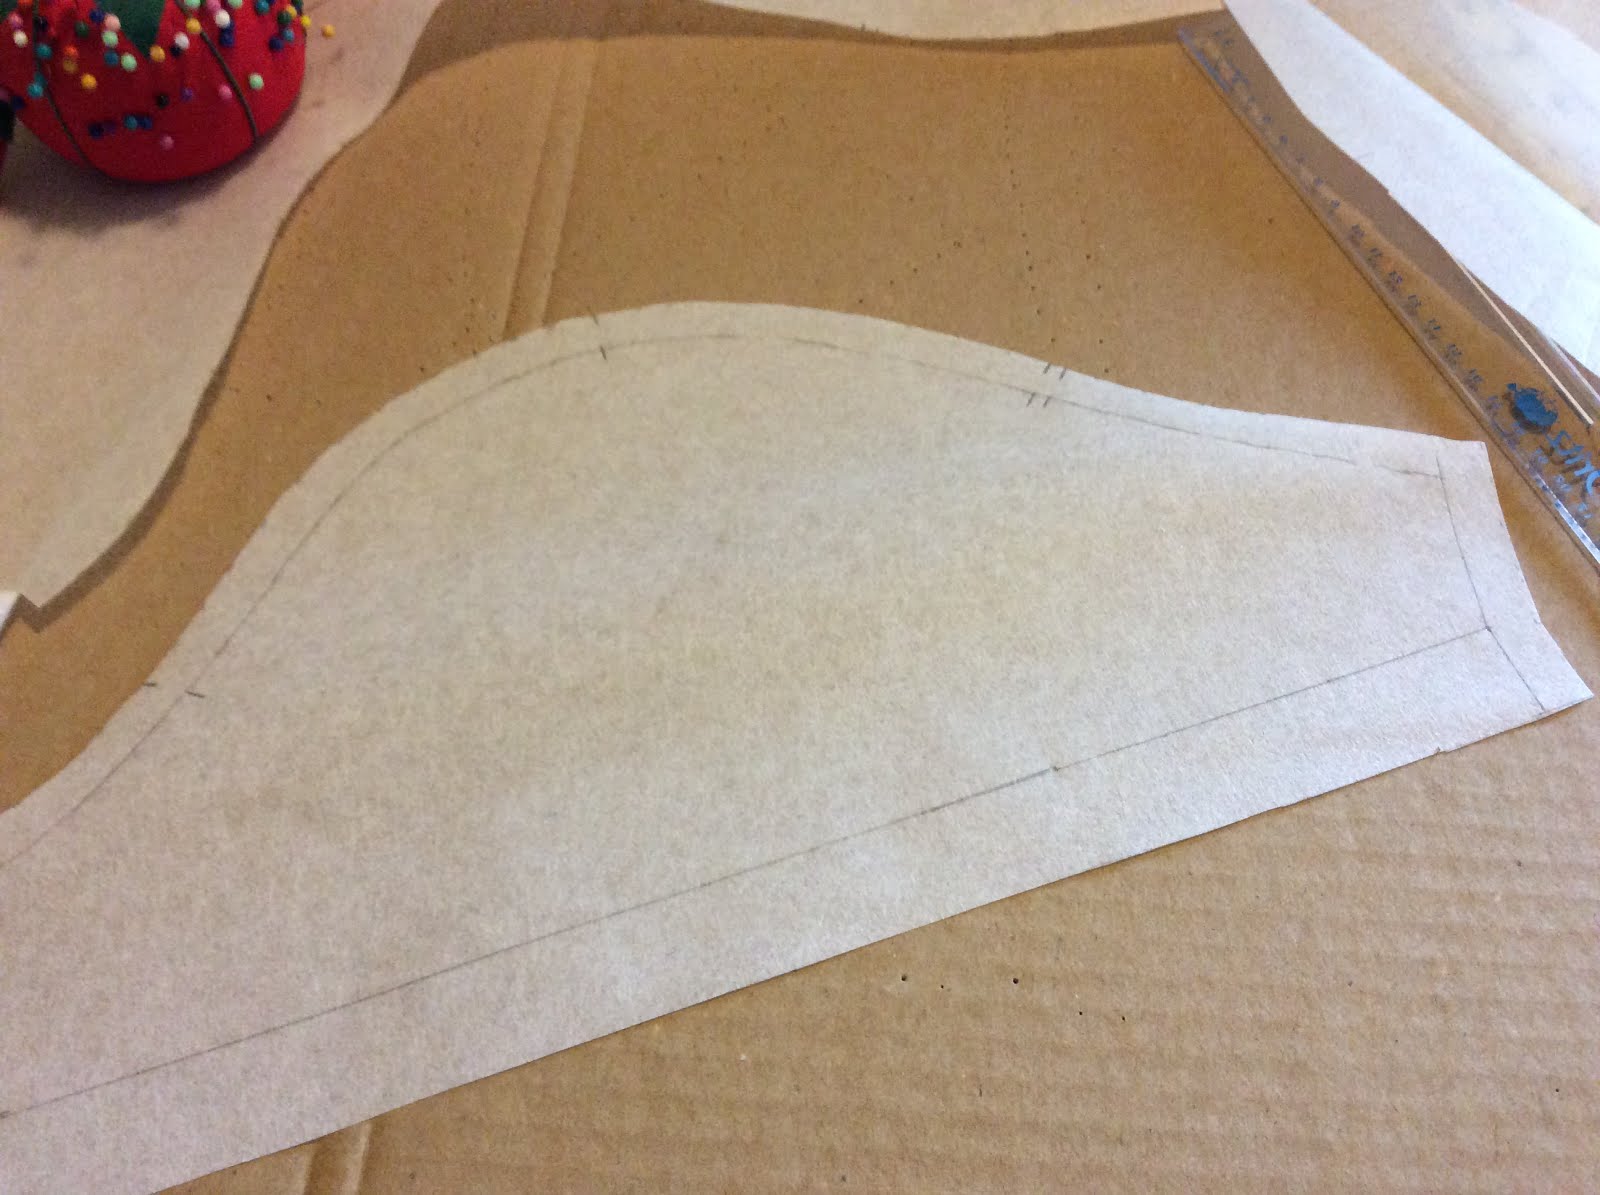
Anyway, I decided to do the sleeve my own way. Like this:

I made one piece for the front and cut it out. Then turned the sleeve over and made another piece out of the back. And then I put the two pieces together at the shoulder line to make one sleeve.
And guess what? It was one wonky, funky looking sleeve. And I did not like it one bit. I have never seen a sleeve that looked like that in my life. (Except for that first time I tried to do this.) So once again, I blamed stretch. And I took out a manufacturer’s sleeve pattern, looked it over, and trimmed up my sleeve pattern to look more like a sleeve.

Note the mark at the shoulder seam at the top, and the marks for the front and back of the sleeve. Very important! You don’t want to put your sleeve in backwards.
Okay, so, the next step is to trace these patterns onto my pattern paper and cut them out. Then I went around and added a half inch seam allowance on most of it, with a one-inch hem allowance on the sleeve and bottoms edges.
The neckline was a problem. I’d decided to pin and draw the neckline as it was, as opposed to at the seam line because I wasn’t sure what I was going to do about the neck facing. So, I figured I was going to do a half inch facing with a quarter inch seam. I hate math. I think I figured it out right.
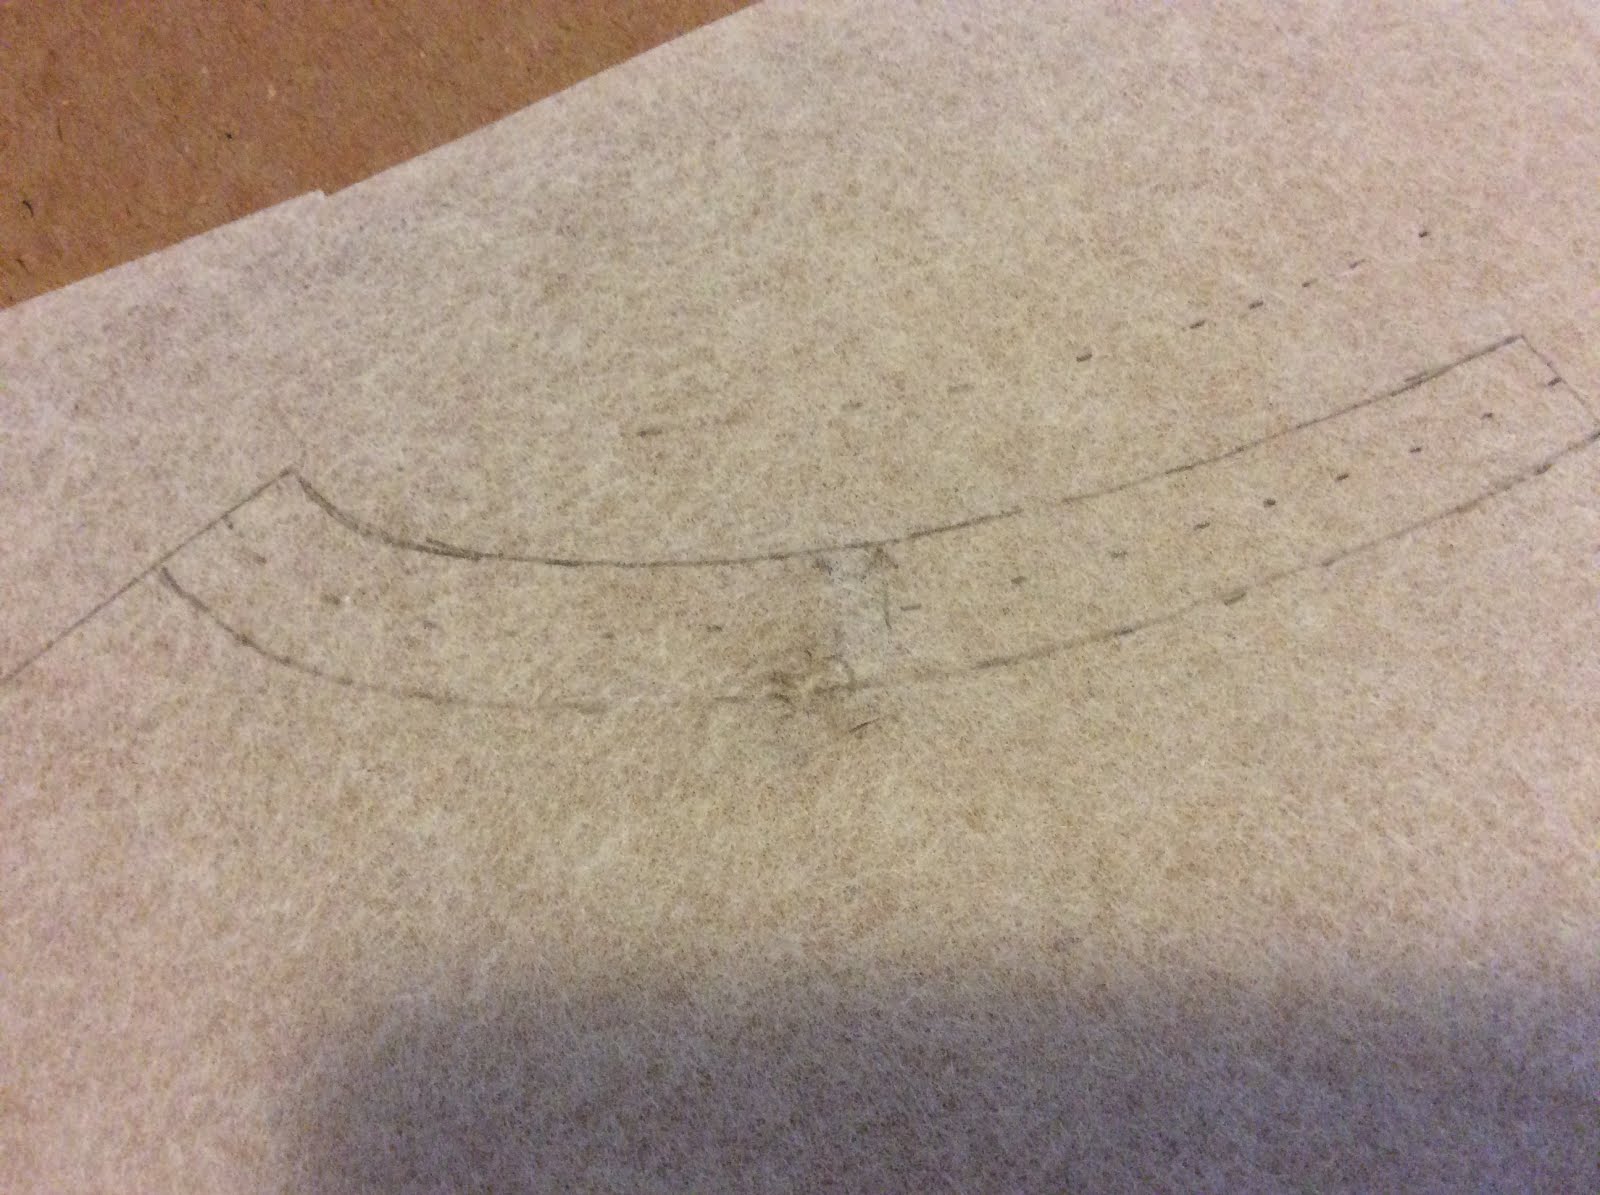
Next was cutting out the pattern pieces and walking the sleeve.
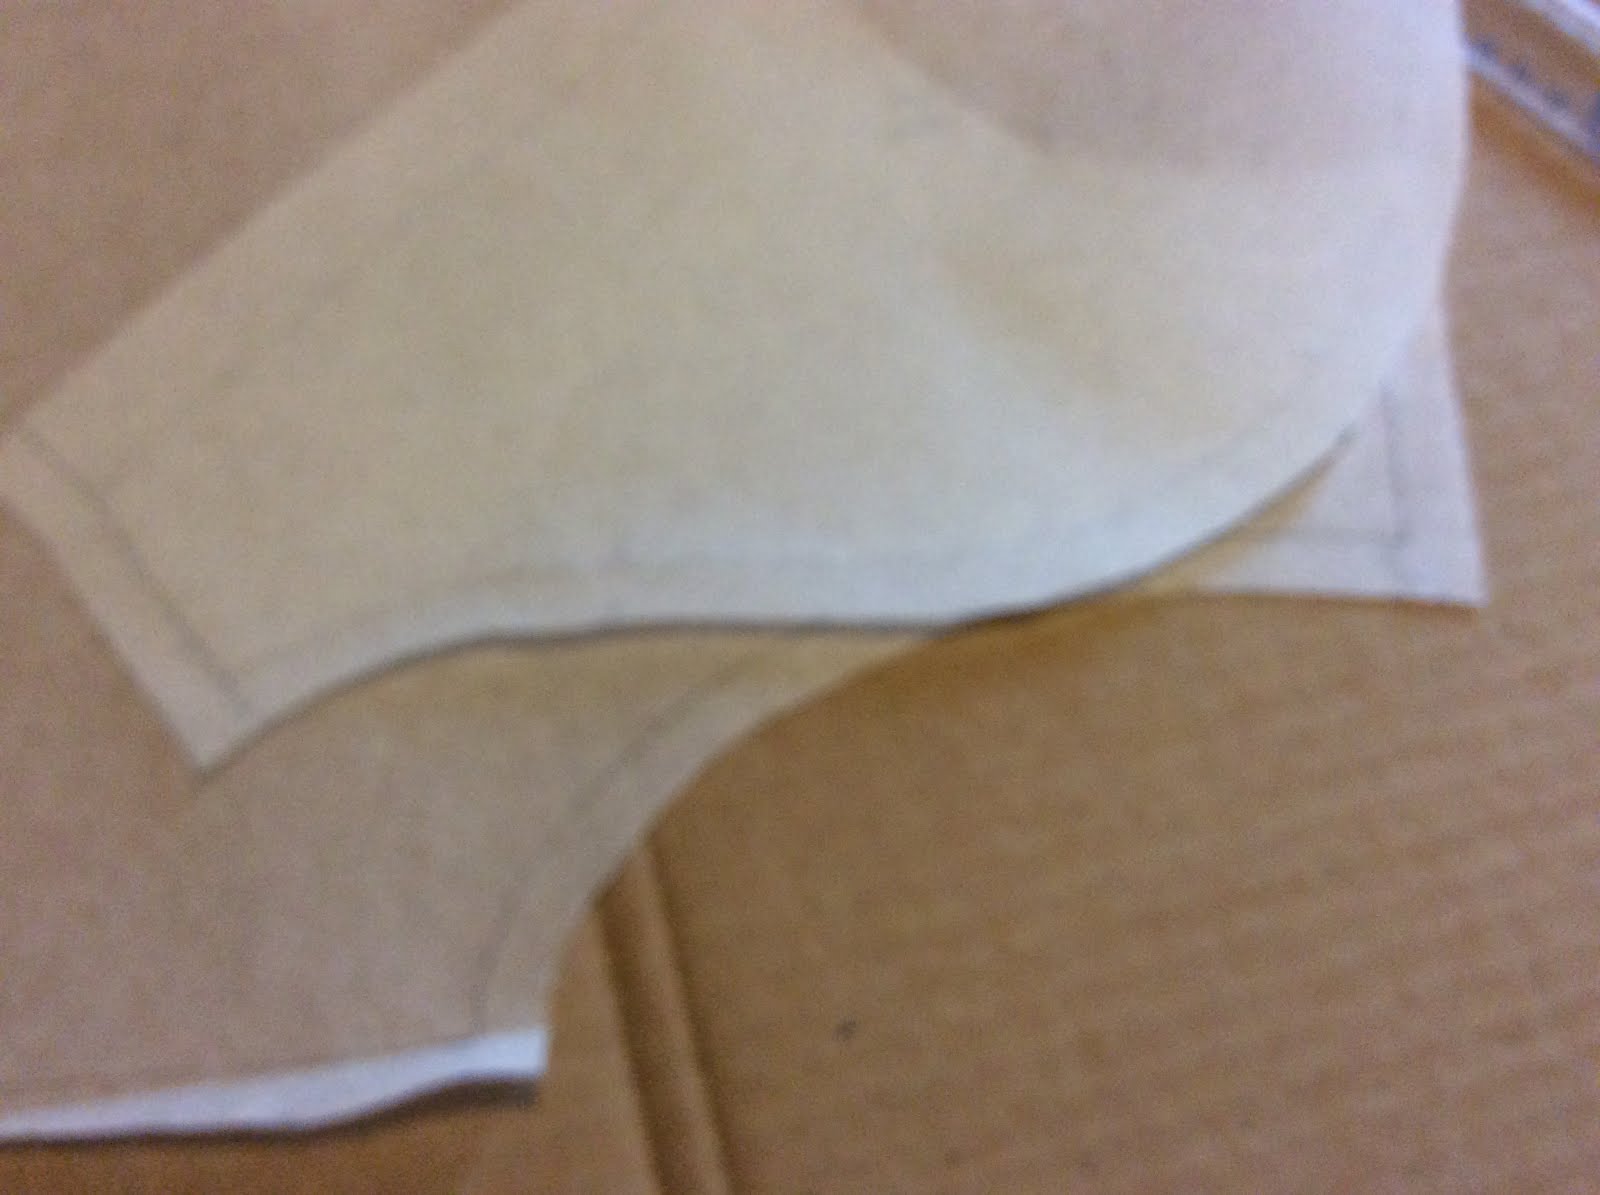
The great thing about this pattern paper is that I can see through it. You line up your sleeve at the underarm, matching the pieces at the seamlines not the cutting lines. Then you “walk” it up toward the shoulder. And along the way, when you get to the front and back marks that you made, you add those marks on the armscye (that’s sew talk for armhole) and keep walking. You’re looking now to see at what point the sleeve comes to the shoulder line. It should be a bit before the shoulder mark at the top of your sleeve because the sleeve should be a bit larger than the hole.
For a knit tee, and to match the one I’m copying, there should be very little ease–about an inch. That way, there won’t be a bunch of gathers along the top and it won’t look like a puff sleeve. You especially don’t want a puff sleeve that sits a bit off the shoulder. Blech.
Anyway, mine looks good so far. Next I need to make a pattern for the neck facing. Then I’ll try to find some cheap knit fabric in my stash and make a muslin. Wish me luck.